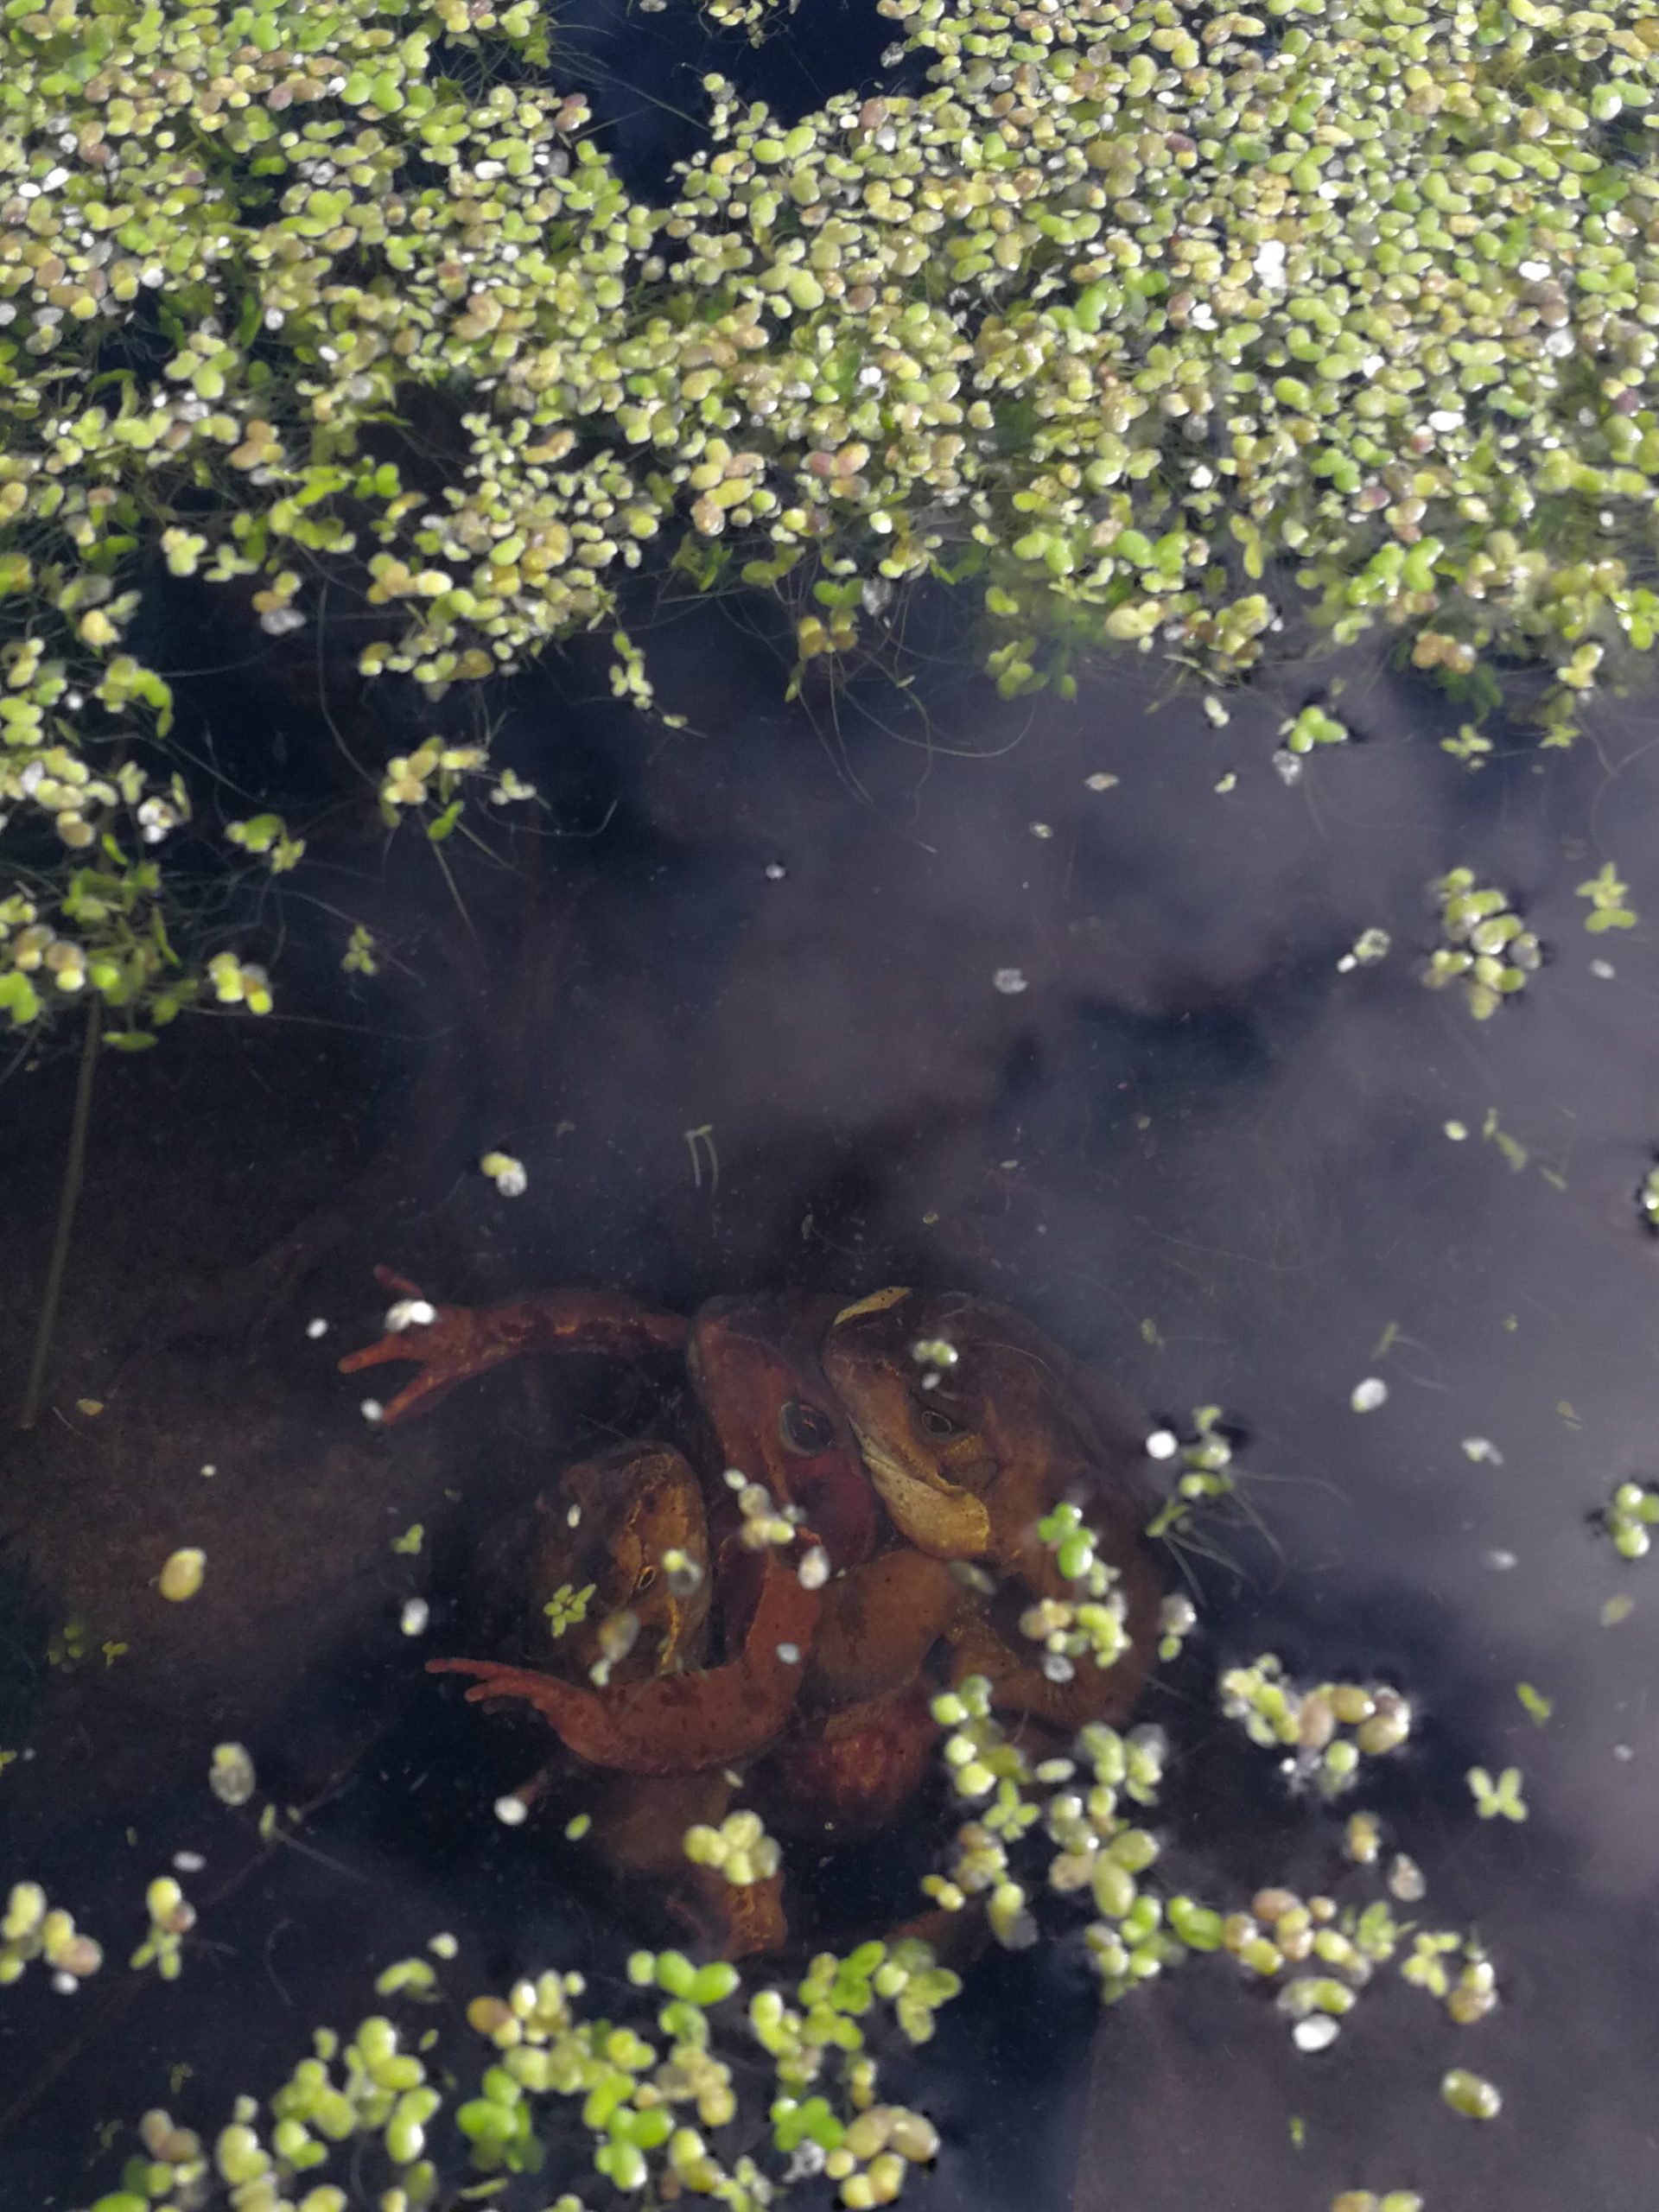
As with improving a lot of things in life my advice is … Just Add Water! Adding a mini pond to your garden or allotment can transform your outdoor space into a vibrant habitat for wildlife, as well as a tranquil spot for you to enjoy. Creating a wildlife pond is an ideal a Family Project to get even the youngest members of the family involved in. If you want to attract all the natural garden pest contollers, i.e. birds, hedgehogs and bats, then a pond can be an excellent first step by providing them with a feeding ground to enjoy.
In this blog post I will discuss all the reasons you would want a pond in your outdoor space and why you want to attract wildlife to your garden. That will be followed by a step-by-step guide to help you create your own mini pond with photos being added as I create mine following these exact steps (be aware that this is a work in progress).
Why Add A Pond to My Garden or Allotment?
Adding a pond to your garden is a wonderful idea for several reasons. First, it enhances biodiversity by creating a habitat for a variety of plants, insects, amphibians, and birds, thereby contributing to the ecological balance. A pond also brings a tranquil, aesthetic appeal to your garden, offering a serene space for relaxation and reflection. Additionally, it can serve as a natural classroom, providing educational opportunities for children and adults alike to learn about aquatic ecosystems and wildlife. Moreover, a well-maintained pond supports beneficial insects that can help control garden pests, promoting a healthier garden environment overall. By introducing a pond, you not only enrich your own outdoor space but also contribute positively to the local ecosystem.
Why Attract Wildlife to My Garden or Allotment?
Attracting wildlife to your garden is a rewarding endeavor that brings numerous benefits to both your outdoor space and the broader environment. By creating a wildlife-friendly garden, you support local biodiversity, providing essential habitats and food sources for a variety of species, including birds, bees,, amphibians, butterflies, and small mammals. Frogs, for example, contribute to pest control by consuming insects, provide a food source for other wildlife, and signal the health of local habitats. This increased biodiversity can enhance the ecological health of your garden, as many wildlife species act as natural pest controllers and pollinators, contributing to more vigorous plant growth and a more balanced ecosystem. Additionally, observing and interacting with wildlife can be a source of joy, education, and inspiration, fostering a deeper connection to nature. Ultimately, a garden teeming with life not only becomes a beautiful and dynamic place to enjoy but also plays a crucial role in conserving wildlife and promoting environmental sustainability.
Steps to Creating a Mini Pond
Now we have discovered why you would want a pond in your garden or allotment let’s discuss how to create your mini pond step by step.

Step 1: Choose the Right Location
The first step in creating a mini pond is selecting the best spot in your garden or allotment. Ideally, choose a location that:
- Receives partial sunlight (about 4-6 hours a day).
- Is away from overhanging trees to avoid excessive leaf fall.
- Has good visibility so you can easily observe and enjoy your pond.
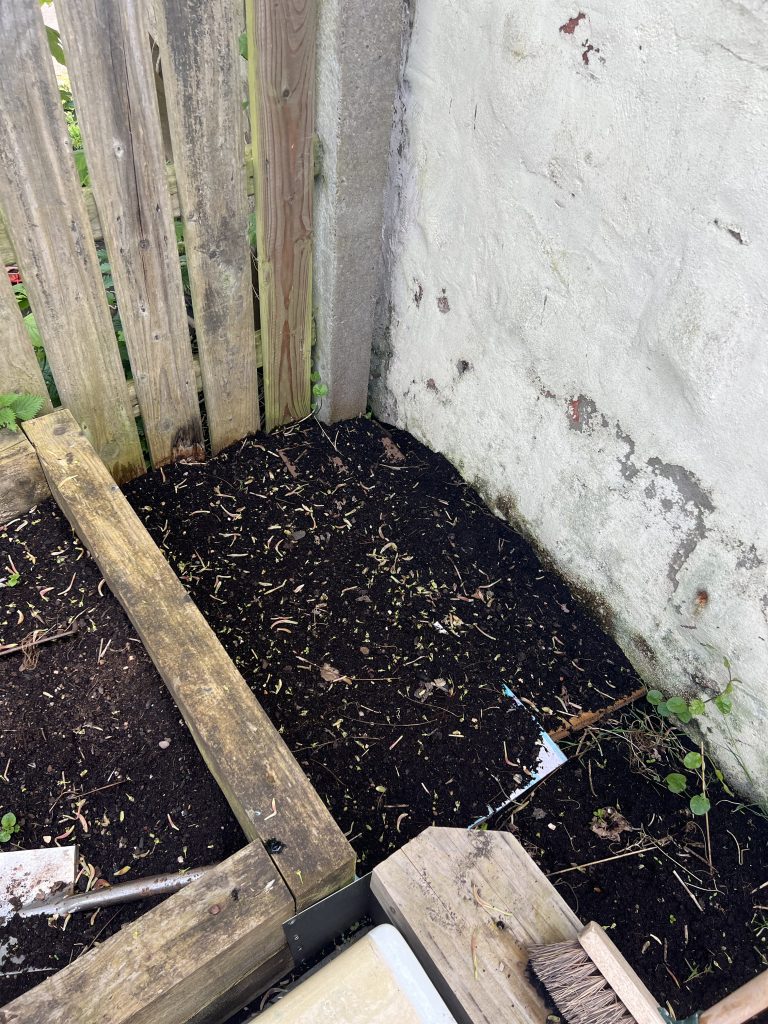
I choose this area in my garden as it receives light most of the day but not direct sunlight, there are no trees close to this corner and it is near the perimeter of my garden where wildlife may be coming and going. Before settling the pond in I cleared all the weeds and covered the ground in cardboard and fresh compost.

Step 2: Select a Container
You don’t need a large space or expensive materials to create a mini pond. Suitable containers include:
- Half barrels
- Large plant pots without drainage holes
- Old bathtubs or sinks
- Pre-formed pond liners or flexible pond liners
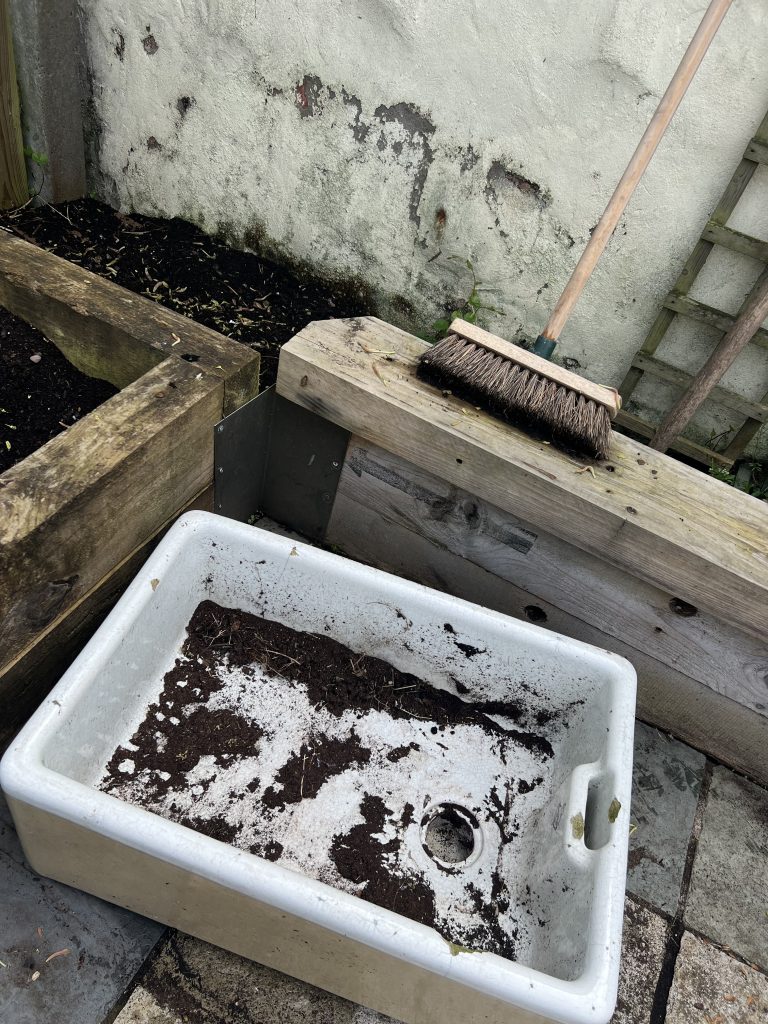
I have owned this old Belfast Sink for years with the intention of creating a small pond in my garden.

Step 3: Prepare the Container
If you’re using a container without pre-made pond liners, follow these steps:
- Clean the Container: Thoroughly clean the container to remove any residues or chemicals.
- Add a Liner (if necessary): If the container is not naturally waterproof, line it with a flexible pond liner to prevent water from leaking. Or alternatively find a way to seal any openings.
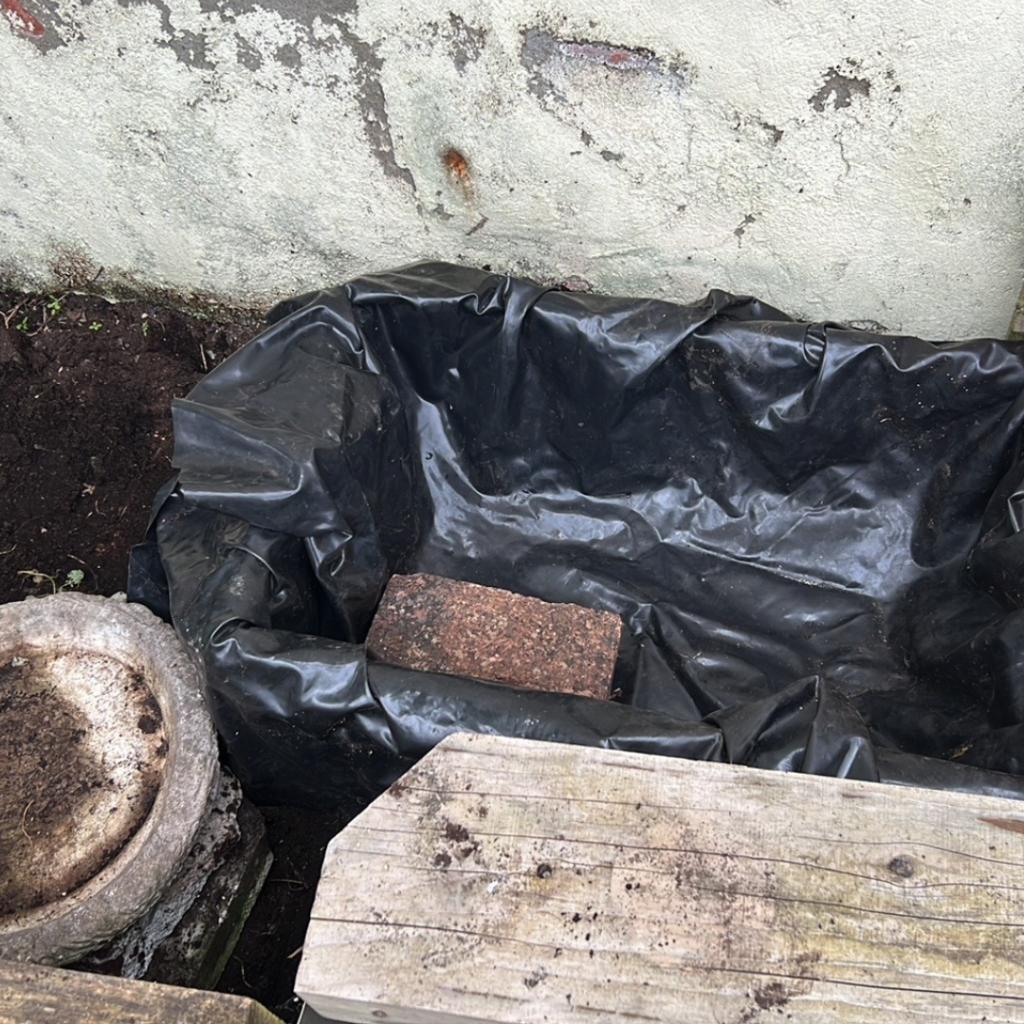
I placed a plug in the opening and a pond liner over the top.

Step 4: Position the Container
Place the container in your chosen location. If you are using a heavier container, position it before filling to avoid the difficulty of moving it when it’s full of water.
Step 5: Add Water
Fill the container with rainwater if possible, as it is free of chemicals found in tap water. If rainwater is not available, let tap water sit for 24-48 hours to allow chlorine to dissipate before adding it to the pond. My mini pond is currently in position and I am letting the rain fill it before I add anything further. Come back for further updates.
Step 6: Add Substrate
Create a natural habitat by adding a layer of gravel or aquatic soil to the bottom of the container. This substrate will help anchor your plants and provide a surface for beneficial bacteria to colonise. You may need to rinse your gravel or choosen substrate before adding it.
Step 7: Introduce Aquatic Plants
Aquatic plants are essential for maintaining a healthy pond ecosystem. Choose a mix of plants that provide oxygen, cover, and aesthetic appeal:
- Oxygenating Plants: Such as hornwort or elodea, to keep the water clear and oxygenated.
- Floating Plants: Like water lilies or duckweed, to provide shade and reduce algae growth.
- Marginal Plants: Such as irises or marsh marigolds, to add visual interest and provide habitat for wildlife.
Arrange the plants so they have enough space to grow, and place taller plants towards the back of the container.
Step 8: Add Decorative Elements
Enhance the beauty of your mini pond with decorative elements:
- Rocks and Pebbles: Create a natural look and provide hiding spots for small creatures.
- Logs or Branches: Add texture and a place for birds to perch or amphibians to hide.
I have added a bird bath to the side of my pond which I think will be a good addition for when I create a bird cafe in my garden.
Step 9: Introduce Wildlife
A mini pond will naturally attract wildlife over time, but you can help speed up the process by introducing some:
- Snails and Aquatic Insects: These will help keep the pond clean.
- Frogs or Toads: If they are native to your area, they may find your pond on their own. Avoid introducing non-native species.
Step 10: Maintain Your Mini Pond
Regular maintenance will keep your pond healthy and attractive:
- Remove Debris: Skim leaves and debris from the surface to prevent decay.
- Trim Plants: Prune plants as needed to prevent overcrowding.
- Monitor Water Levels: Top up the pond with rainwater during dry spells.
- Clean the Pond: Occasionally, you may need to clean the pond to remove excess sludge or algae.
Creating a mini pond in your garden or allotment is a rewarding project that enhances biodiversity and adds a soothing element to your outdoor space. By following these steps, you’ll have a thriving mini pond that brings joy to both you and the local wildlife. Let me know if you plan to add a pond to your garden or allotment in the comments.

Yes, over the years our Apple trees have grown and now apples tend to fall in the pond each autumn!