The Water Cycle is a fundamental concept in Earth Science that explains how water moves and cycles through the Earth’s atmosphere, land, and oceans. Understanding the water cycle is important for children in helping them to understand the interconnectedness of Earth’s systems and the importance of water conservation. In this blog post I will detail a Water Cycle Study Unit that we completed as a weekly co-operative learning session with friends over 3 weeks. For this unit study I pieced together worksheets and activities that had been created by other providers. I am writing this unit study up so you can see that you do not have to create all your own materials when teaching your children at home. The great thing about the Water Cycle is that it is easy enough for even young children to understand yet complicated enough that it can be extended to challenge older children.
UNDERSTANDING THE WATER CYCLE
Let’s briefly review the key stages of the water cycle:
- Evaporation: The sun’s heat causes water from oceans, lakes, and rivers to evaporate and form water vapor in the atmosphere.
- Condensation: As water vapor rises into the atmosphere, it cools and condenses into tiny water droplets or ice crystals, forming clouds.
- Precipitation: When the water droplets in clouds become large enough, they fall back to the Earth’s surface as precipitation, which can take the form of rain, snow, sleet, or hail.
- Runoff: Precipitation that does not infiltrate into the ground flows over the land surface as runoff, eventually making its way back to oceans, rivers, and lakes.
- Transpiration: Plants absorb water from the soil through their roots and release it into the atmosphere through tiny pores in their leaves, a process known as transpiration.
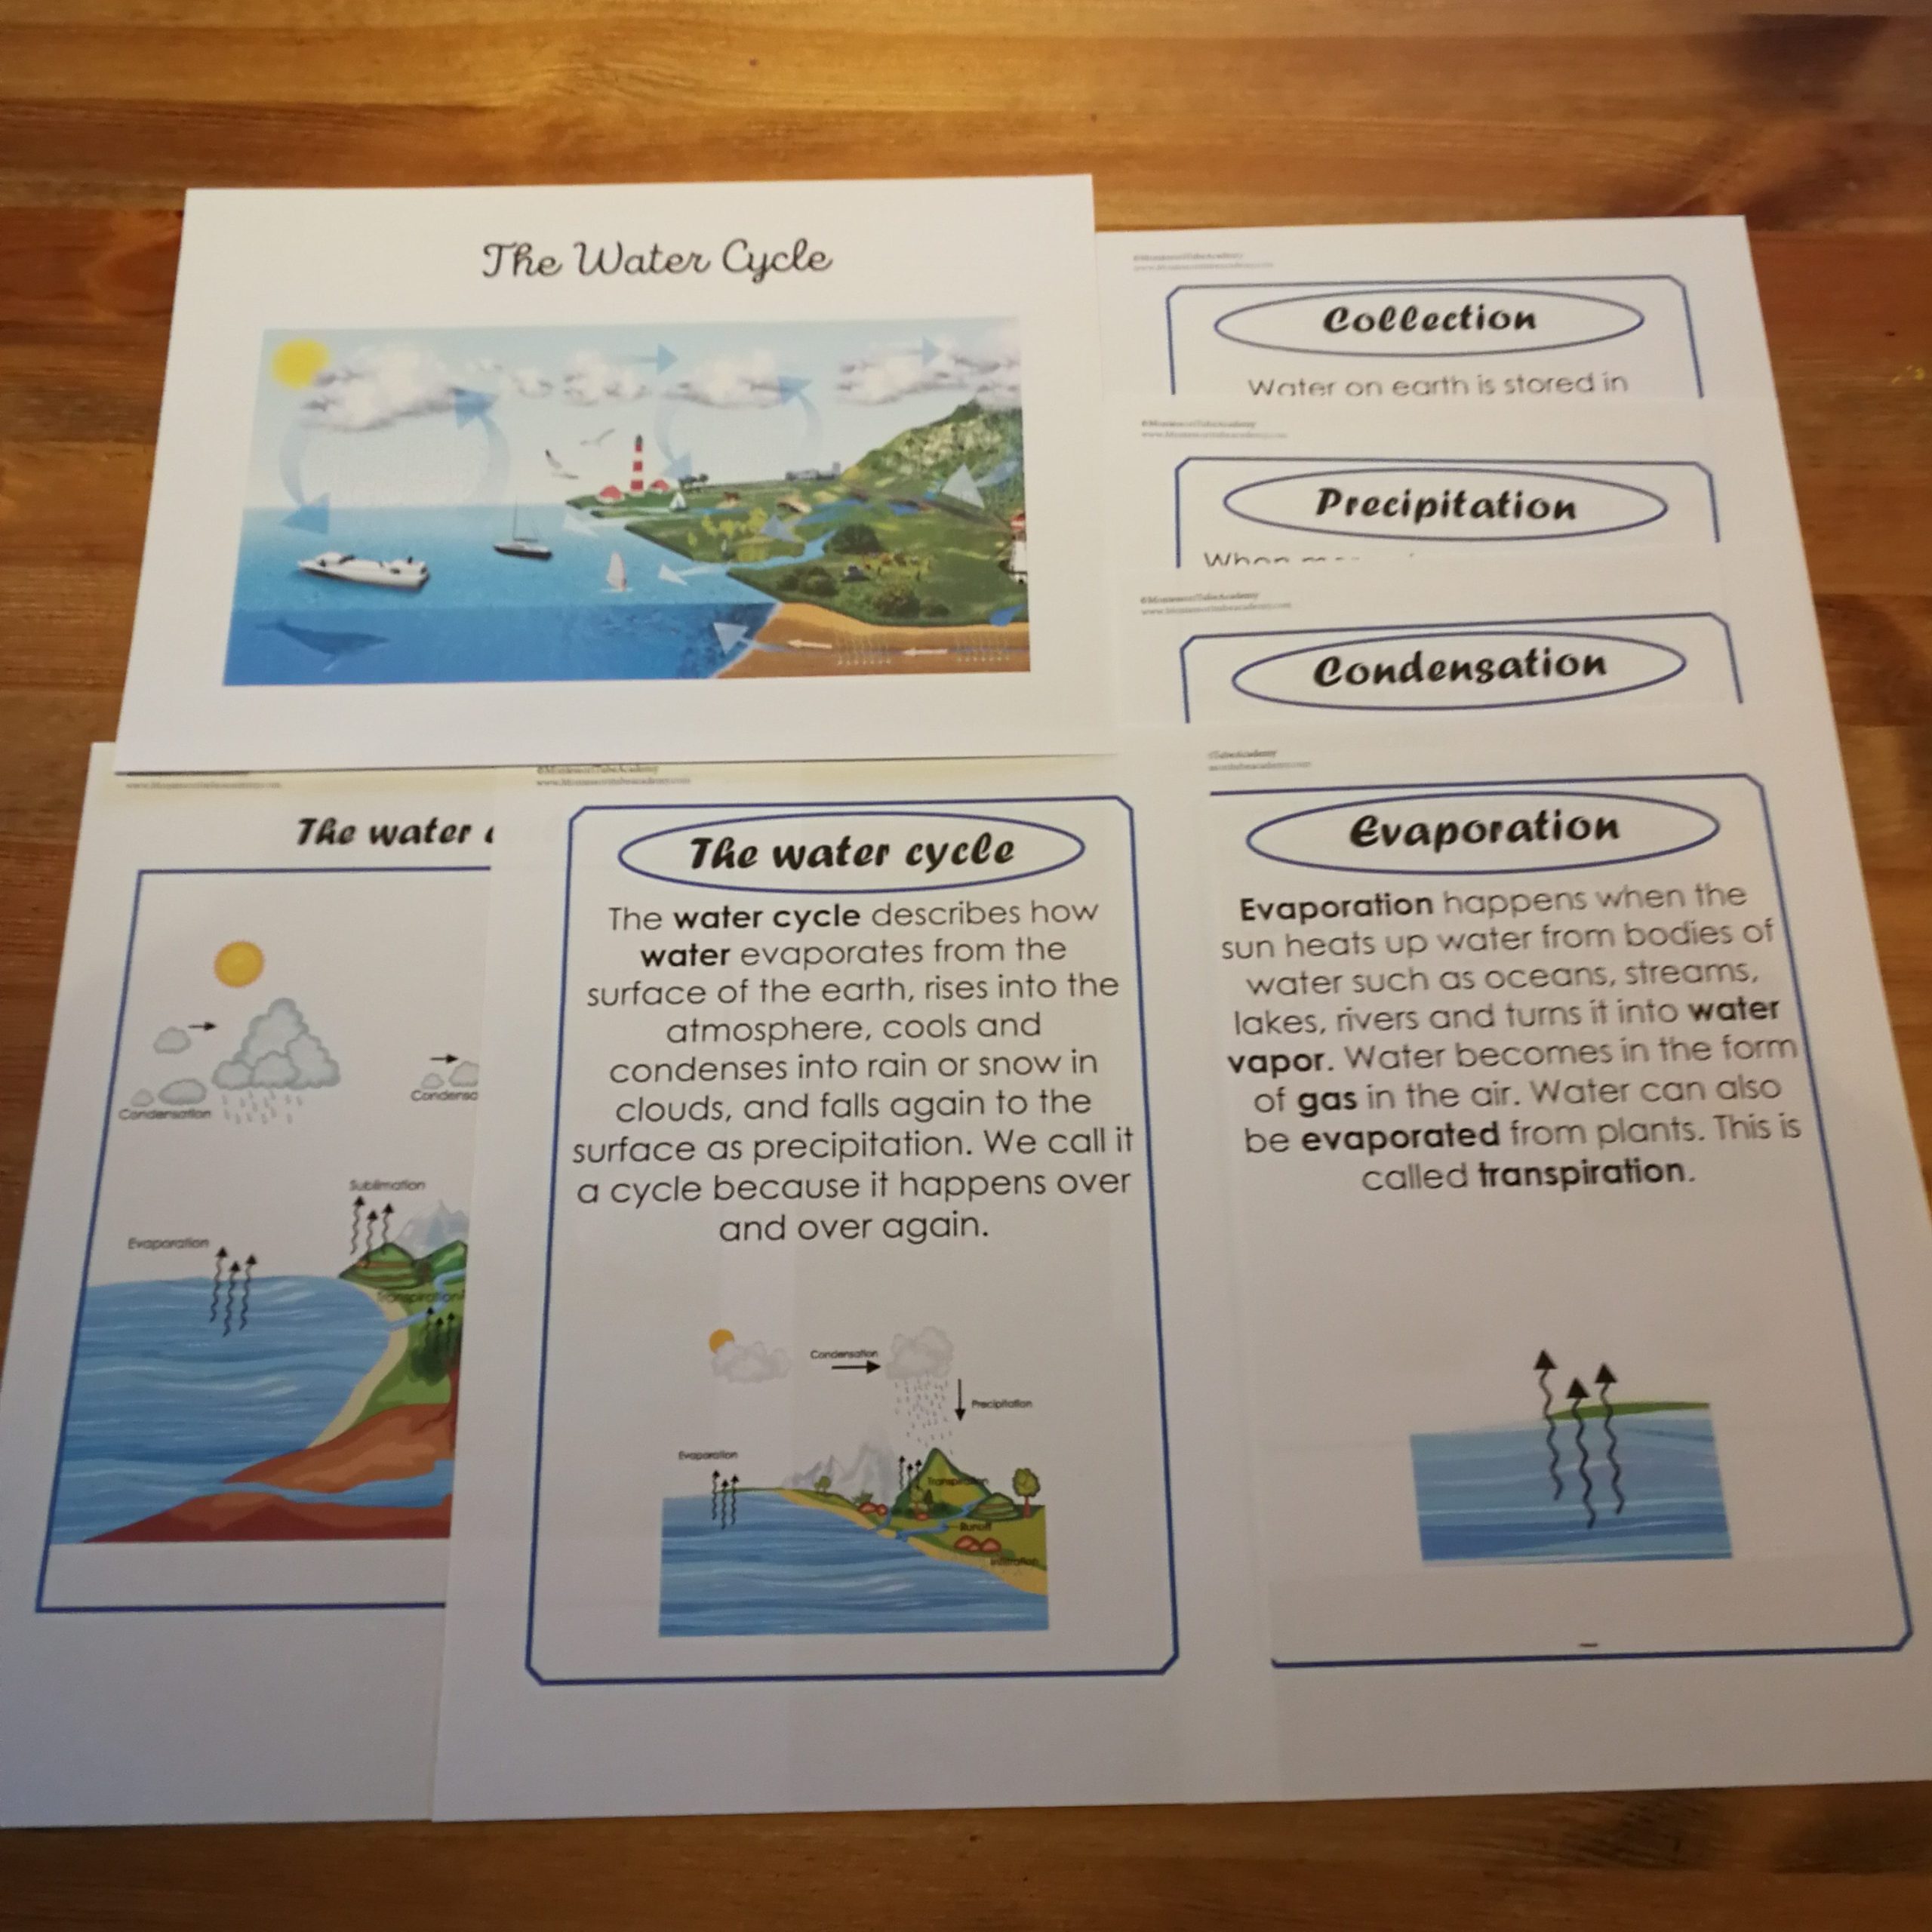
Learning Materials from Montessori Tube Academy.
CO-OP STYLE LEARNING
During the time we home educated if there was an opportunity to work with another family or to take part in a social event which helped with our current topics I jumped at the chance. I loved hosting other families in our home. This allowed the other parent and I to split the teaching and setting-up and clearing up duties. The ages of the children that took part in this learning session ranged from 6 to 11 years. The unit study, as detailed in this post, can be spread out anyway that suits your family, we completed it over 3 days with roughly 1.5 / 2 hours spent each day on the materials and activities. All the resources I used will be linked and credit given to the authors. Any documents that I created will be provided as free downloads at the end of this post.

Learning Materials from Montessori Tube Academy.
HOW I TEACH
Before we start it is best to see if my teaching style will suit your homeschool and your children’s learning styles. I like to make use of multiple types of teaching resources from books, videos and TV programmes and multiple types of learning materials from worksheets, quizes, discussions and hands on activities. This study unit will require some prep on your part and your presence during the sessions. If this sounds like it will work well for you and your children then please read on.
WHY UNIT STUDIES?
I use a number of ways to teach my children with unit studies being one of them. The benefit of using a unit study is that we can focus on one topic in-depth with all the relevant homeschool subjects, be it reading, writing, maths, art or music, under the umbrella of that topic. This approach can help with reluctant learners as they don’t even realise they are doing the core subjects when learning about a subject that really interests them. Unit studies can be about anything that catches their attention from dragons and history to science and plays.
RESOURCES AND WHERE TO FIND THEM
As I mentioned already we use a wide range of resources when we are learning about a topic. One of the first steps I like to take is to create a Pinterest Board especially for all our experiments and hands on exercises. I then gather up any appropriate resources I already own at home such books and digital products or bookmark any that I think would be useful online. Finally, I check for fun educational videos, songs or TV programmes that will fit in well with the topic.
BOOKS
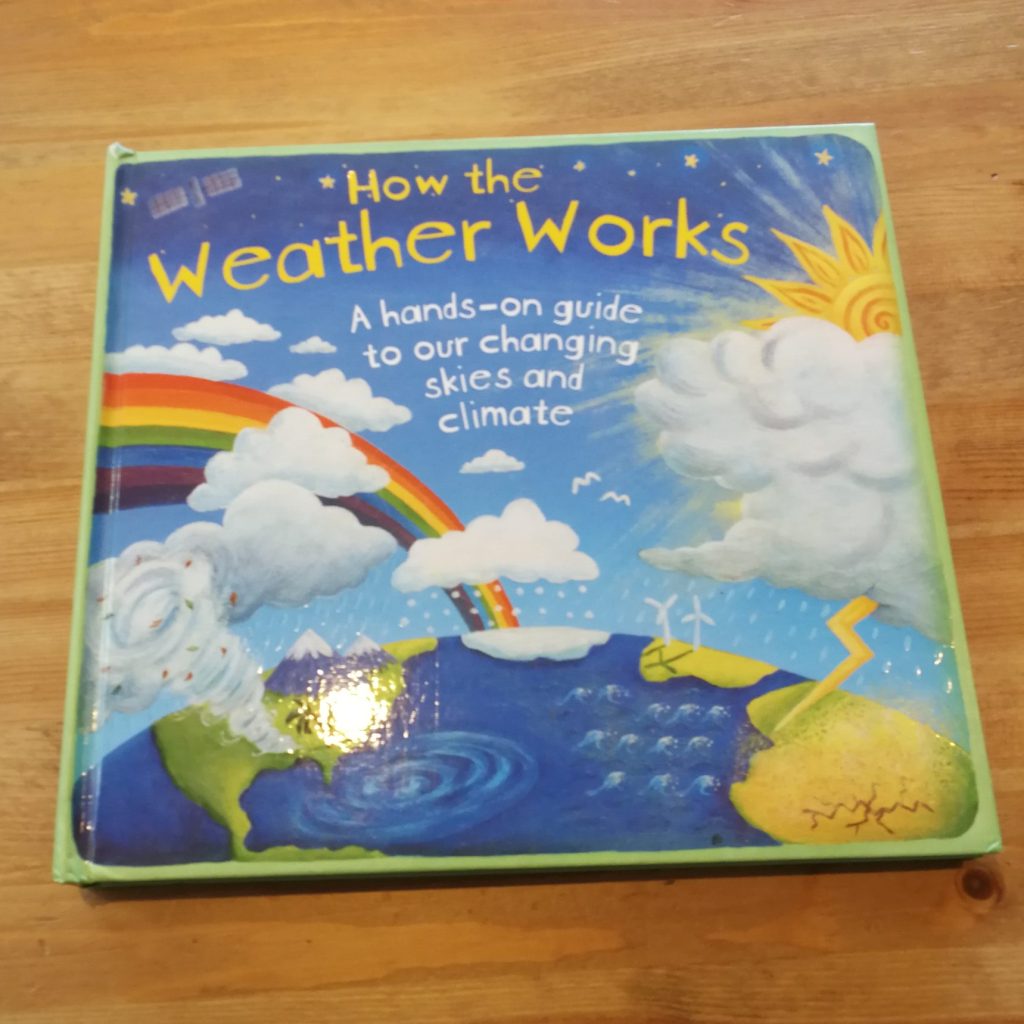
When homeschooling it is easy to want to buy all the books and I have definitely been guilty of buying books because I liked the look of them as opposed to researching how useful they would be. I now firstly check what we have at home and I ask family and friends if they have any useful books that I can borrow. I then check for books in my local library and finally I will consider buying the book. Remember to check if the book comes in different formats too if you are stuck for space at home, I will buy books on kindle or audio at times. I used 3 books for this unit study; 2 educational ones and a fun story book.
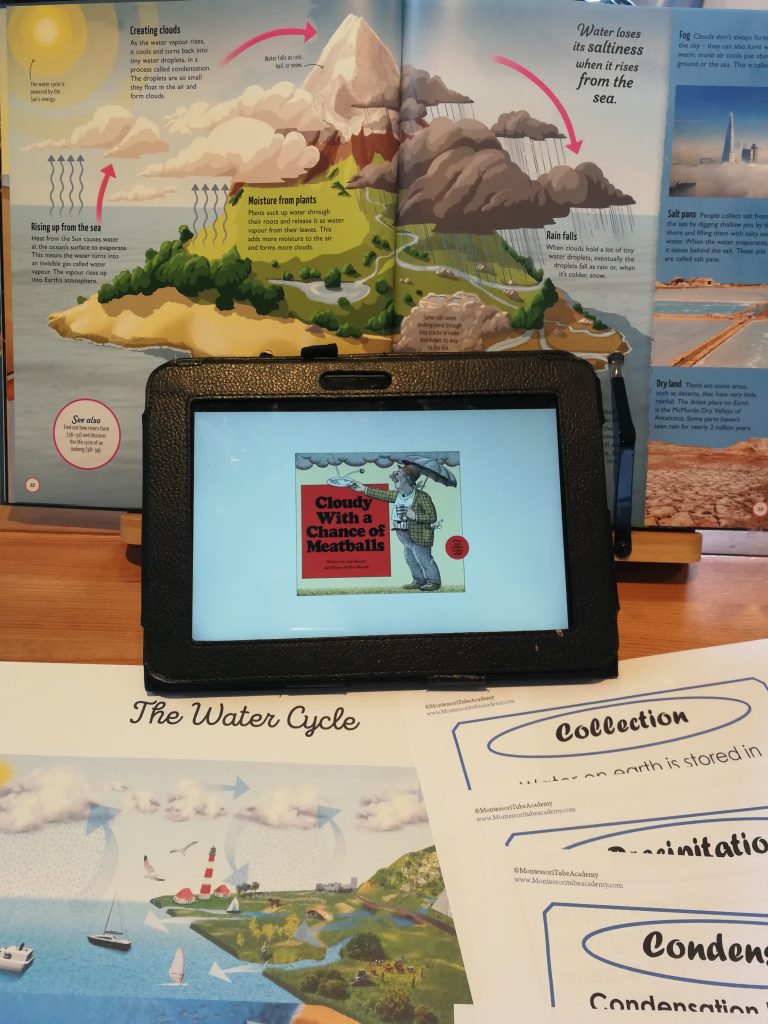
Double page spread from Life Cycles by DK Books and Learning Materials from Montessori Tube Academy.
This post contains affiliate links, which means Barefoot Bliss and Books make a small commission at no extra cost to you. See the full disclosure here.
The reason I like the Life Cycles and the How the Weather Works books is that they can be used for other study units and so are not a one time use purchase. I added in the Cloudy With a Chance of Meatballs story as something fun to read to the kids while they completed a hands on activity.
VIDEOS AND SHOWS
I like to break up the learning and the teaching by incorporating fun educational videos and TV shows. Crash Course Kids is one of my favourite YouTube channels for short and interesting educational videos. We watched The Great Aqua Adventure:
WORKSHEETS
A number of the worksheets and informational pages came from educational bundles I had purchased online and so I cannot share those pages for download. I will however link to each author that produced the work and any I created I will provide as downloads at the end of this post.
ACTIVITIES AND GAMES
I will link all the activities, and more, that we completed over the 3 days to a Pinterest board. On day one we created the mini water cycle pictured below. This is a simple experiment to set up with items you will most likely have sitting around the house. This provided the perfect opportunity to discuss states of matter and what causes the states to change; water [liquid], ice [solid] and steam [gas].
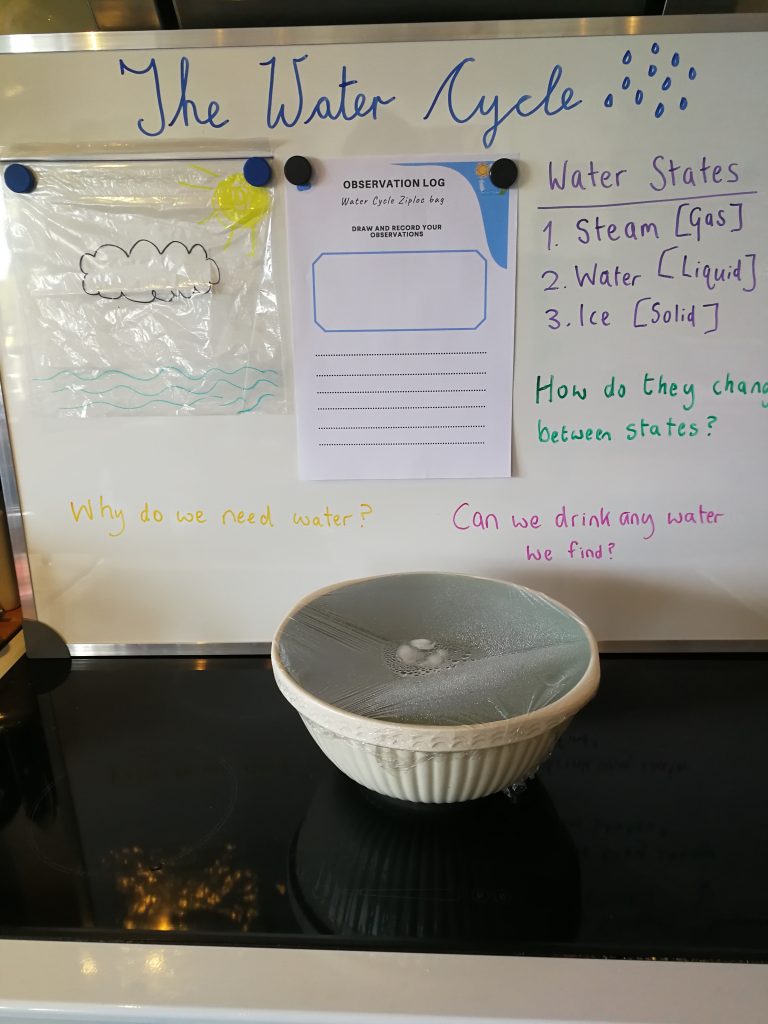
Observation Log from Montessori Tube Academy.
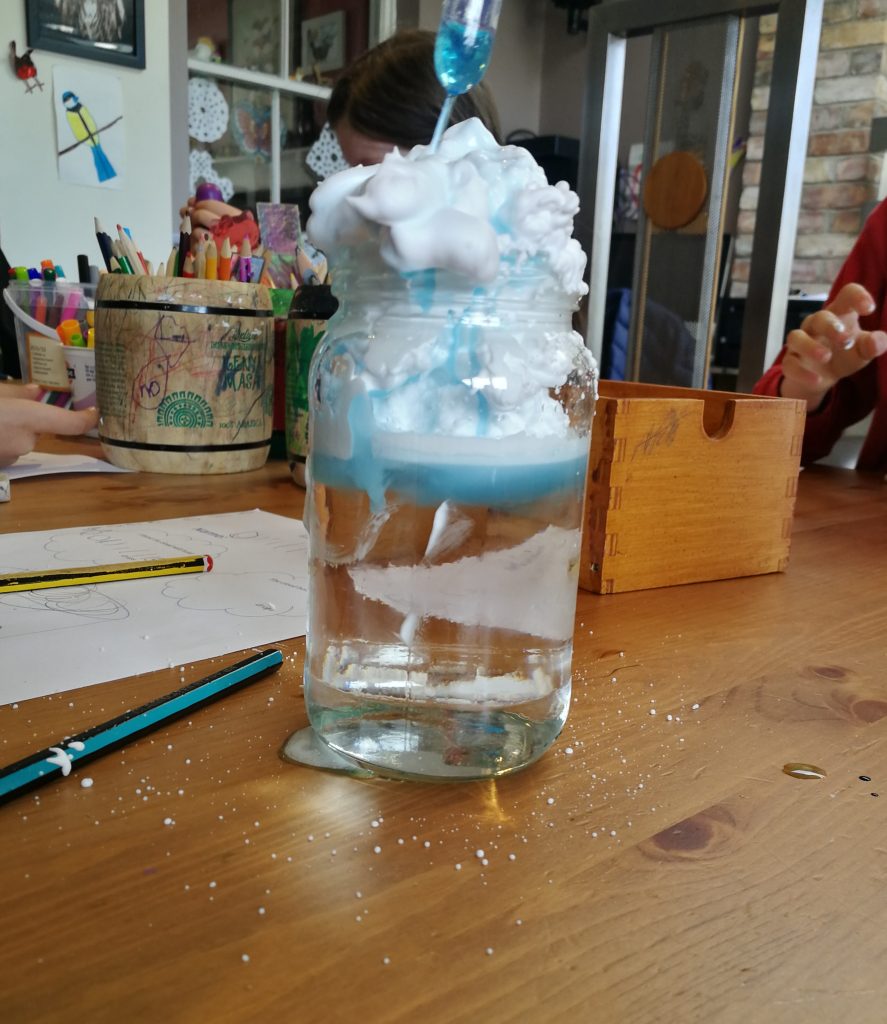
The second activity was one that each child set up and carried out themselves, the shaving foam rain cloud. This is an easy experiment using shaving foam as a cloud and the child drips coloured water onto the “cloud” until it starts to “rain”. Before they started dropping water onto the cloud I had them predict how many drops would be needed before it would rain. You can download the prediction sheet we used for free at the bottom of this post.
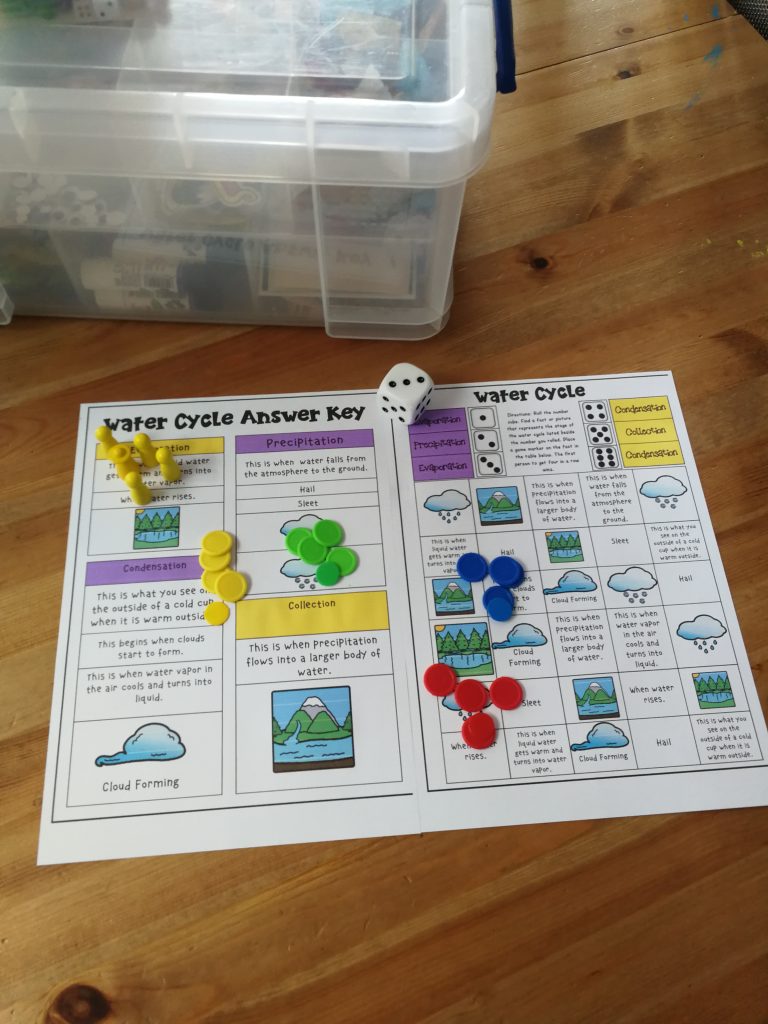
I got a game from Teachers Pay Teachers.
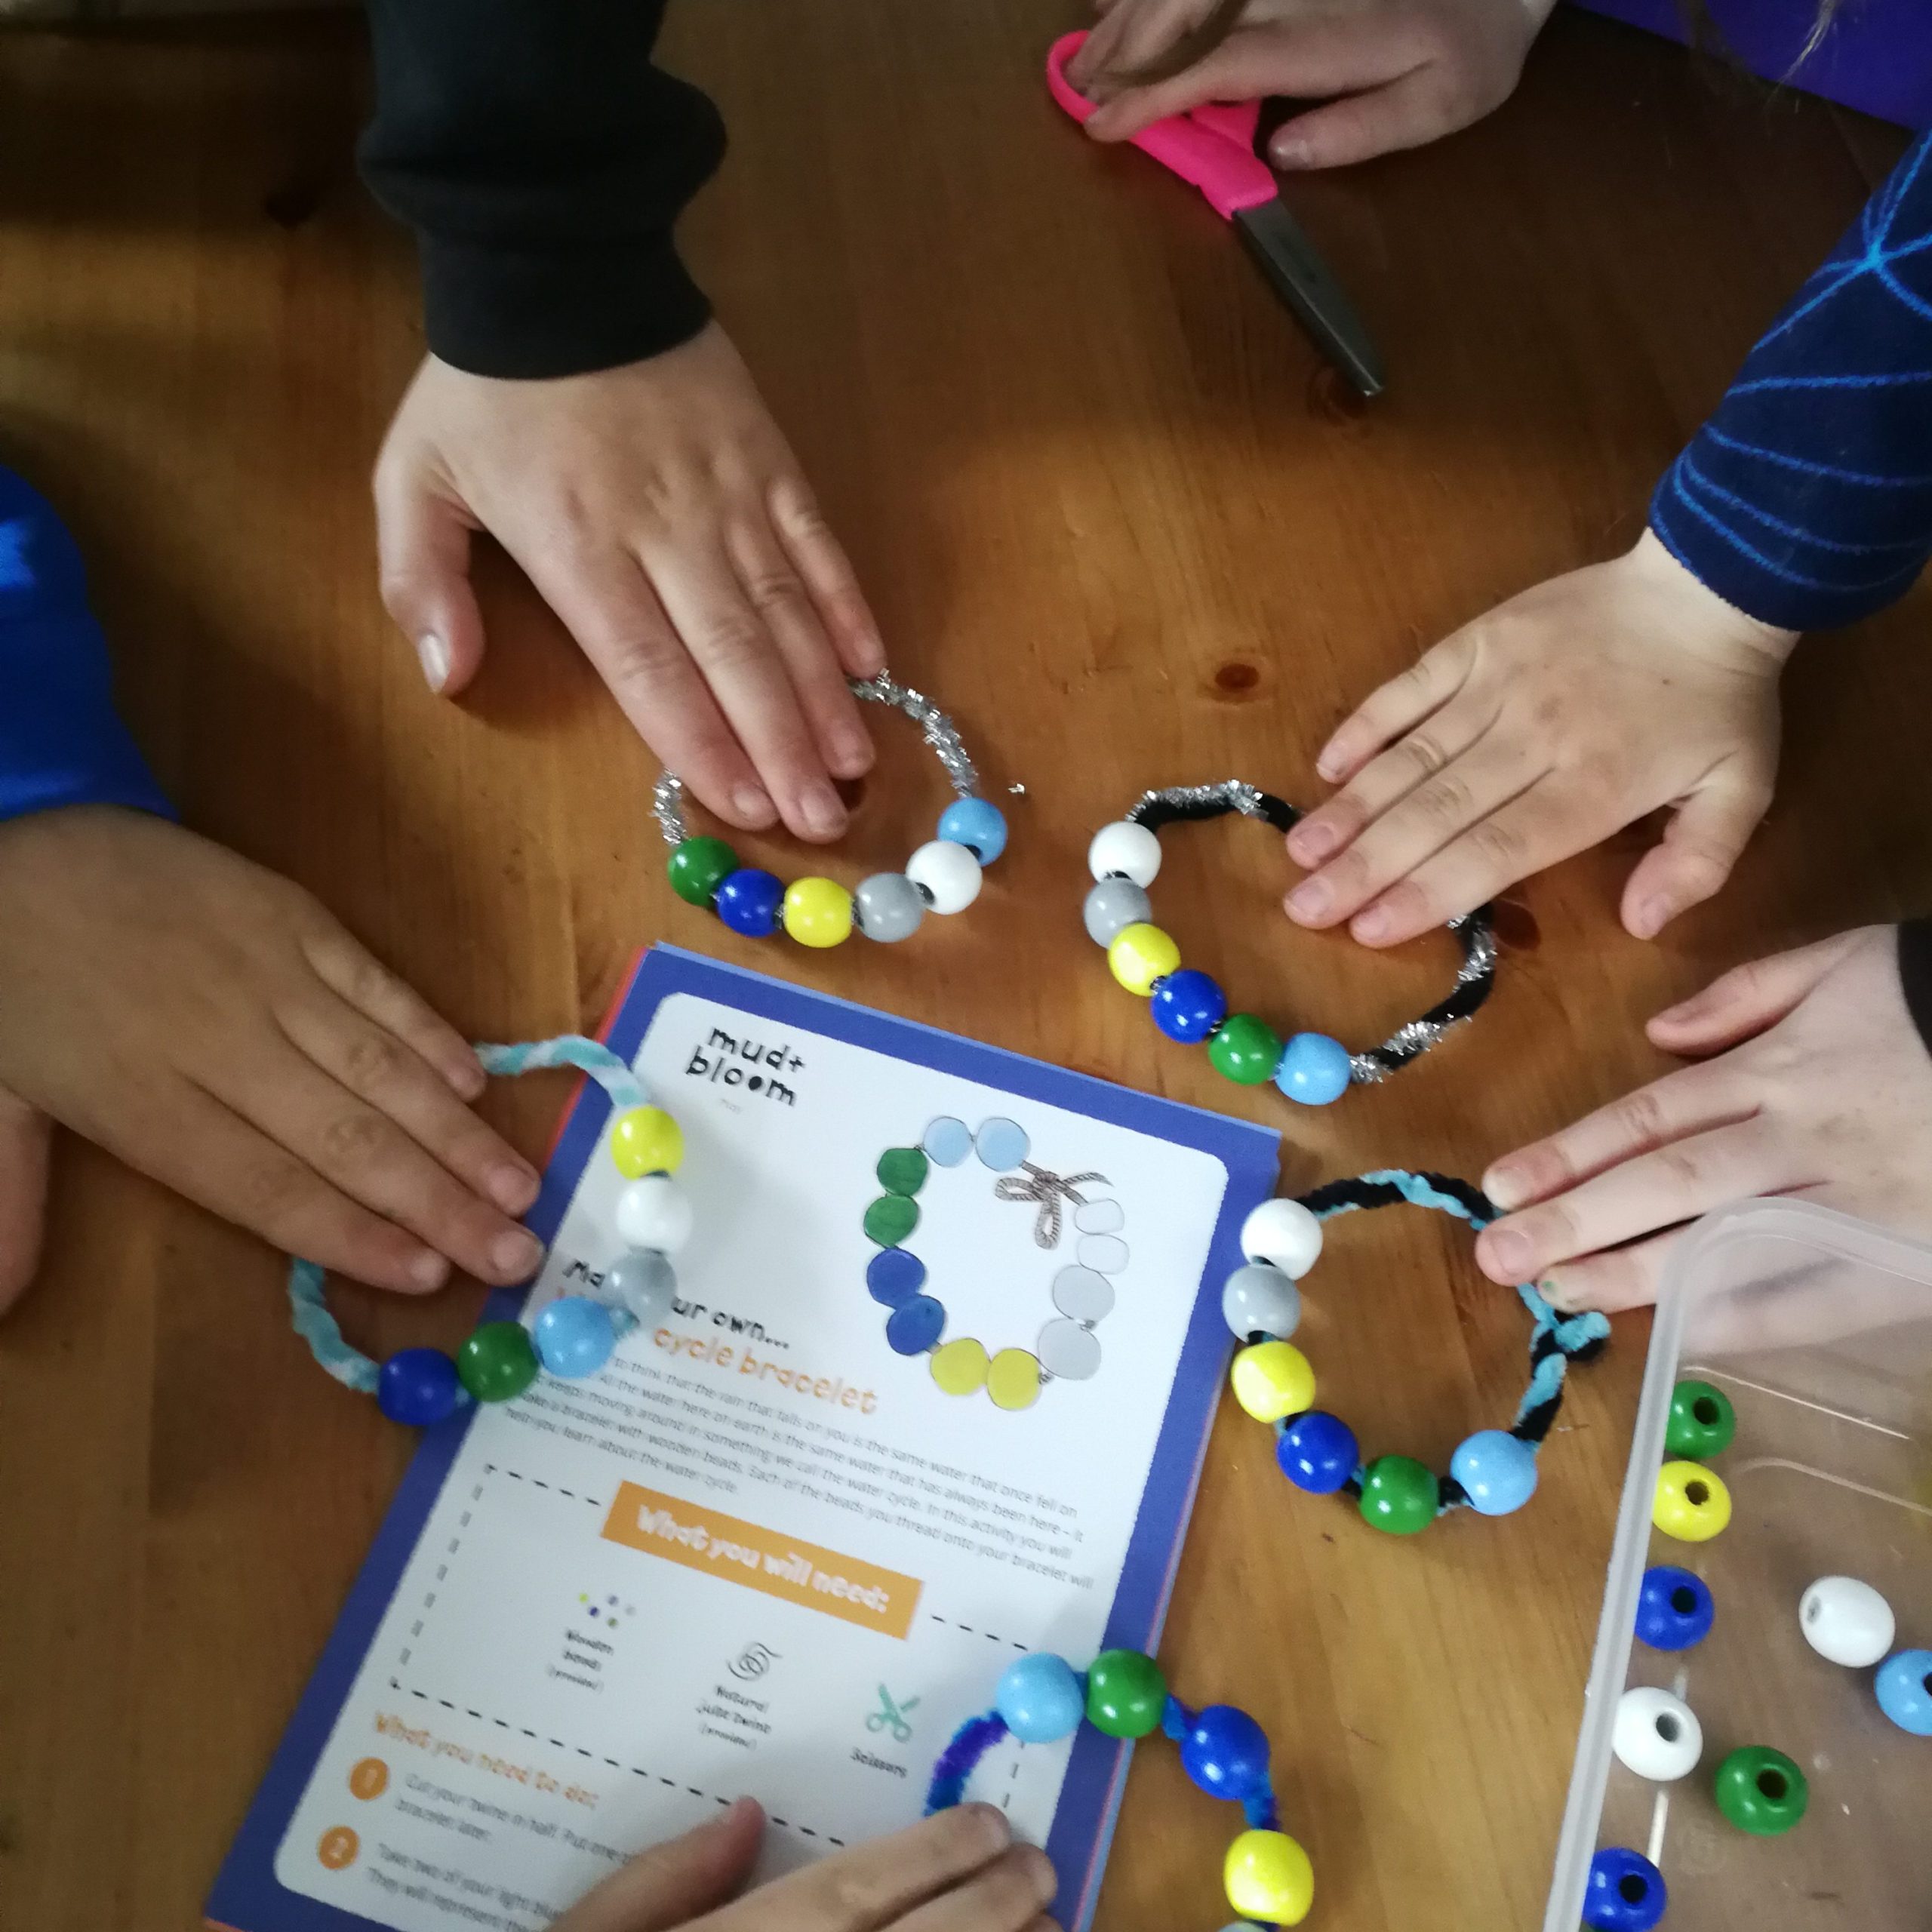
One activity came from our Mud and Bloom Monthly subscription box.
Questions to Answer
I usually think of some questions I want the children to be able to answer by the end of the unit. In this case:
- Where does water come from?
- Why do we need water?
- Can we drink any water we find?
- What changes to allow for water to change between states?
Some other Hands On Activities
These are some other activities I considered doing but didn’t get around to:
- Build a Mini Water Cycle Terrarium: Transform a clear plastic container into a mini water cycle terrarium. Fill the bottom of the container with soil, plant some grass seeds or small plants, and water them. Cover the container with plastic wrap and secure it with a rubber band. Place the terrarium in a sunny spot and watch as the water evaporates from the soil, condenses on the plastic wrap, and drips back into the soil as precipitation. This hands-on activity provides a visual representation of the water cycle and demonstrates the role of plants in the process.
- Conduct a Cloud in a Jar Experiment: Explore the process of condensation by conducting a cloud in a jar experiment. Fill a glass jar with hot water and place a plate on top of the jar. Place a few ice cubes on the plate and observe as water droplets form on the underside of the plate, resembling clouds. Explain to children how the warm, moist air rises from the hot water, cools, and condenses into water droplets on the cooler plate, mimicking the formation of clouds in the atmosphere.
- Build a Rain Gauge: Construct a homemade rain gauge using a clear plastic bottle, a ruler, and waterproof tape. Cut the top off the plastic bottle and invert it into the bottom half, creating a funnel shape. Secure the two pieces together with waterproof tape. Place the rain gauge in an open area outside and wait for precipitation to collect in the bottom of the gauge. Encourage children to measure and record the amount of rainfall over time, fostering an understanding of precipitation and its role in the water cycle.
Let me know if you try any of the experiments in the comments.

Some very interesting games and activities there. Very useful.